How Elements+ Works
PSE, just like the Photoshop full version, supports JavaScript language. It is this ability which lets E+ reach the hidden functions of the application.
The E+ kit includes 12 "main" or "top level" scripts -- Color and Tone, Selections, Layers, Styles, Masks, Smart Filters, Paths, Text, Scripts, RAW Corrections, Animation, and Tool Presets -- as well as dozens of "supplementary" scripts.
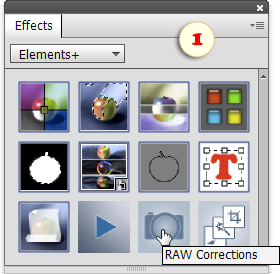
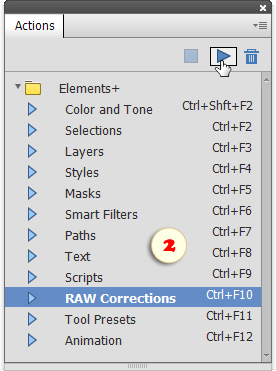
You start the "main" ones through "File > Automation Tools" menu, by double-clicking their thumbnails in the Effects palette (fig. 1), or by playing corresponding actions (fig.2). These scripts are designed for accessing the undocumented PSE features.
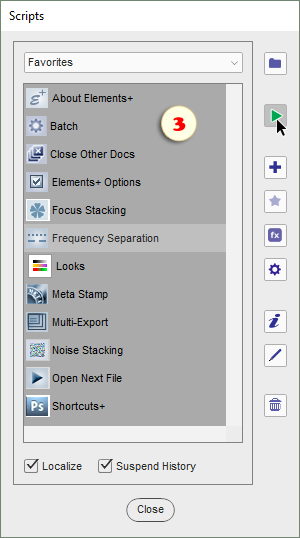
The supplementary scripts, intended for some specific tasks, are to be run from the "Scripts" dialog box (fig. 3).
NB Actually, the difference between the "main" and "supplementary" scripts is purely conventional, because any of the "supplementary" ones may be added to the Effects and Actions panels as well.
By default, all effects appear in the palette as thumbnails. To see the correspondent script names, you either hover the mouse pointer over thumbnails (fig. 1) or choose the "Show Names" option from the palette menu.
Please keep in mind that the effects won't work unless an image is open in Photoshop Elements. So, you can't run an E+ script until you create or open at least one document.
Besides, PSE doesn't let you apply effects if:
-
more than one layer is selected in the Layers palette;
-
the color depth of the current image is more than 8 bits;
- its color mode is "Indexed Color" or "Bitmap".
You can avoid these restrictions with the help of the Actions panel (fig. 2).
Windows flavor of Elements+ also provides an alternative method for launching the scripts. Both, "main" and "supplementary" scripts can be started from the tray menu.


