Macro Recording and Saving
So, you have installed "Scripting Listener" and made sure it records your PSE activity.
Now open the Actions panel (Window > Actions), go to the panel menu, choose "Load Actions" command, browse to "C: > Elements+ > 2024 > Actions", and load "Macros.atn".
Then prepare all the prerequisites for your planned macro. For example, open some file if the macro should edit the current image; select some area if pre-selection is required, and so on.
Now, at last, you are ready for the macro recording.
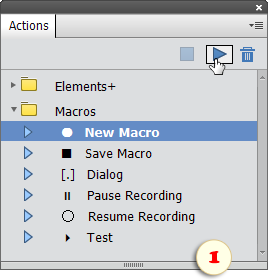
1. Choose ![]() "New Macro" action and play it (fig. 1).
"New Macro" action and play it (fig. 1).
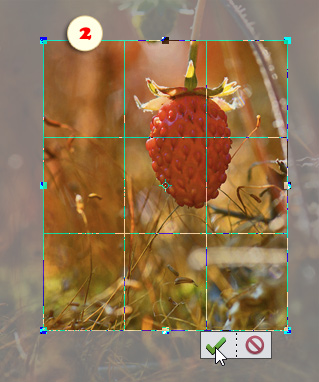
2. Accomplish the steps you want to record. For example, duplicate layer, adjust "Brightness/Contrast", apply a sharpening filter, crop the image (fig. 2), etc..
3. By default, the recorded macros execute silently (i.e., without user interaction). To make a command's settings customizable on playback, run [.] "Dialog" action right upon completing the corresponding step. For instance, to allow altering cropped area:
-
commit the cropping (fig. 2)
-
then play the [.] "Dialog" action (fig. 3).
4. Once all the necessary steps done, play ![]() "Save Macro" action. Then, in the dialog that opens, enter the macro name and save it.
"Save Macro" action. Then, in the dialog that opens, enter the macro name and save it.
By default, your macros are saved to "My Macros" subfolder of the E+ Scripts catalog. However, you may choose any other location.
![]() A video on this topic is available here.
A video on this topic is available here.