Apply Image
![]() The "Apply Image" tool is intended for blending, composite images, layers, or channels. For instance, the shells from the photo 1 can be transferred to the sand of the photo 2.
The "Apply Image" tool is intended for blending, composite images, layers, or channels. For instance, the shells from the photo 1 can be transferred to the sand of the photo 2.
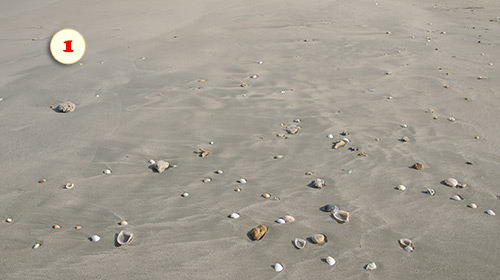
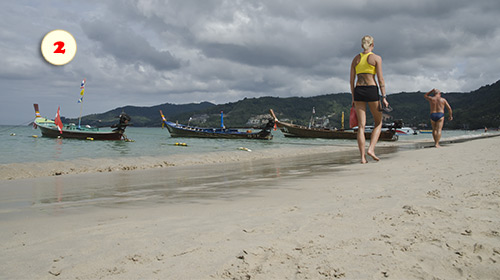
1. Open source and target images in PSE and make sure they have exactly the same pixel dimensions.
2. Select the target document.
3. (Optionally) duplicate the Background layer [Ctrl+J].
4. Run the "Apply Image" ![]() script.
script.
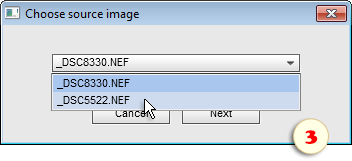
5. In the dialog that opens, choose the source document (fig. 3) and click "Next".
6. Now "Apply Image" dialog opens. If the source image is layered, you may specify layer in the "Source" menu (by default, it suggest "Merged" layer).
7. In the "Blending" menu, choose a suitable blending mode (on the screenshot 4, "Vivid Light" is selected).
8. If necessary, adjust the "Opacity" and other settings.
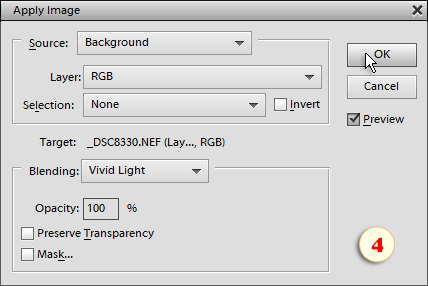
NB. If you happened to work with "Apply Image" dialog in the full Photoshop, you may notice that the PSE version is a bit messed up. In particular, the "Source" (image) drop-menu displays the document layers, whereas the "Layer" menu contains the color channels. Hopefully, this confusion doesn't prevent you from using the tool.
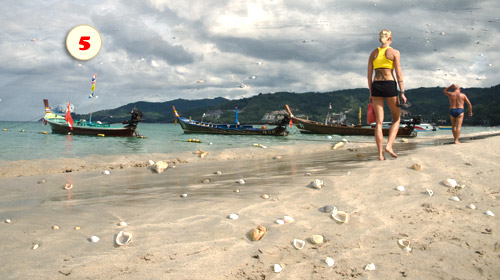
So, the source image has been applied to the current layer of the target document (fig. 5).
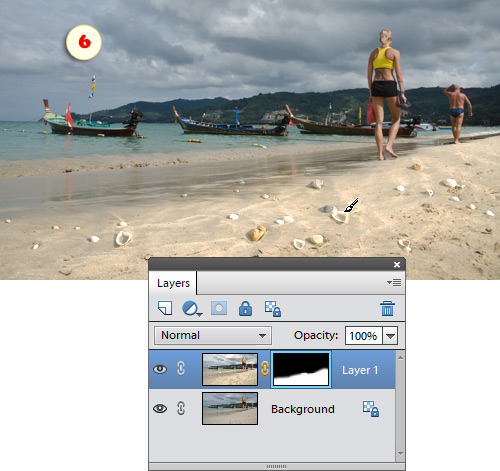
9. If you need to remove the effect from certain areas, create a layer mask and paint over the corresponding fragments with black color (fig. 6).
