Handling Scripts
Now let's see how to manage scripts in the E+ catalog.
To add a new script, choose the target category in the drop menu, then press the "Add" ![]() button, and, in the dialog box that opens, find on your computer the wanted JS or JSX file.
button, and, in the dialog box that opens, find on your computer the wanted JS or JSX file.
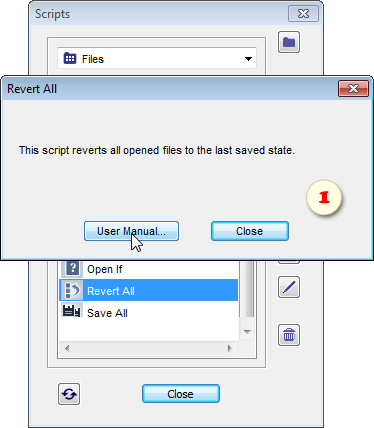
To read a script info (fig. 1) select it in the list and click the "Info" ![]() button. (In case the script's info is unavailable, the
button. (In case the script's info is unavailable, the ![]() button is disabled.)
button is disabled.)
To add to the "Favorites" (default) category a script from another category, select it in the list and click the "Favorites" ![]() button.
button.
To add a script to the Effects panel, use the ![]() button (more about)
button (more about)
To rename a script use the "Rename" ![]() button.
button.
To delete a script, click the "trash" ![]() button.
button.
To make in the E+ catalog a new category, click the "Add/remove category"![]() button and enter desired name.
button and enter desired name.
To remove a category, select it in the drop menu, delete all the scripts and click the "Add/remove category" ![]() button. Removing non-empty categories is not supported.
button. Removing non-empty categories is not supported.
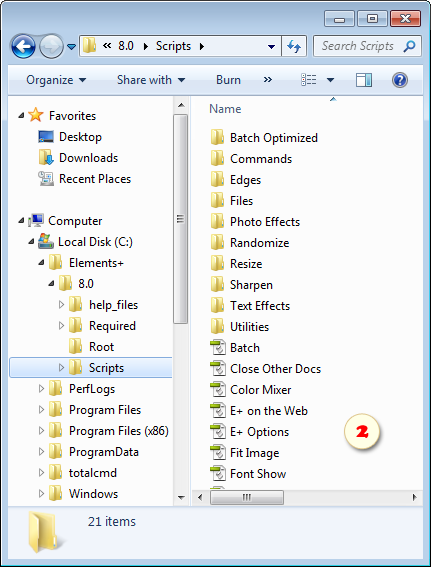
Alternatively, you may manage the scripts with any file manager. The E+ catalog is located on your computer at the "C: > Elements+ > 2024 > Scripts" directory (fig. 2).
To add a new category with a certain name, you create in the "Scripts" folder an accordingly named subfolder.
To add new scripts into a certain category, you copy the corresponding JS or JSX files into the appropriate subfolder of the "Scripts" directory.
To add a script into the "Favorites" category, copy its file into the catalog root directory (that is, into the "Scripts" folder).
To save user-defined options and dialog locations, each script creates its own INI file in the "C: > Elements+ > 2024 > Required > ini" folder. In same cases, the INI data writing error may result in the script's unworkability. To solve this problem, just delete the corresponding INI file.
For example, if the "Meta Stamp" dialog won't open, go to the "ini" folder and delete the "Meta Stamp.ini" file.
Alternatively, you can reset all the E+ dialogs as follows:
- Run the "E+ Options" script.
- In the dialog box that opens, click the "Total reset"
 button. This deletes all the files in your "ini" folder at once.

