Filter Masks
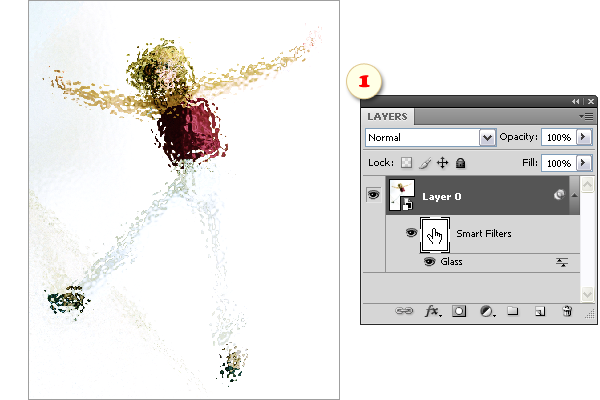
"Filter masks" is yet another great feature of smart filter allowing us to hide an effect without masking the layer itself. Actually, once a smart filter is created it already has a "white" layer mask. However, since a filter mask thumbnail doesn't appear in the Layers palette, you can't activate it directly as Photoshop users do (fig. 1).

In PSE you mask smart filters as follows:
- Select a "filtered"
 smart object in the Layers palette.
 - Open the "Masks" dialog box.
- If you want just to activate the filter mask without altering it, apply the "Select Filter Mask"
 command.
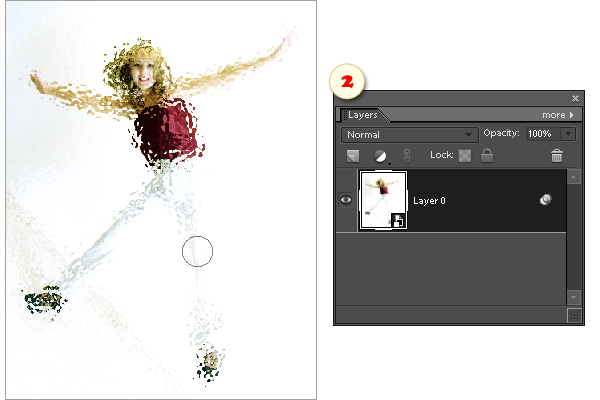
 There appear white "dashes" around the smart object's thumbnail, meaning that the filter mask is currently active and you can edit it directly. For example, paint on the image with black color to hide filter effect in certain areas. On the screenshot 2, the author masks smart filters on the girl's face and knees. Let's make it clear that if an object has 2 or more smart filters applied to it, the mask hides them all. Masking individual filters is impossible.
Additionally, the "Masks" dialog suggests several functions for instant creation or editing filter masks:
- The "Reveal Filter"
 command fills the mask with white color, thus revealing the whole layer to the filter effect.
 - The "Hide Filter"
 command hides the filter effect completely by filling the mask with black color.
Sometimes, it is more convenient to create a mask from an active selection.
- The "Filter Selected"
 command reveals the selected area and hides the rest of the layer from the filter effect.
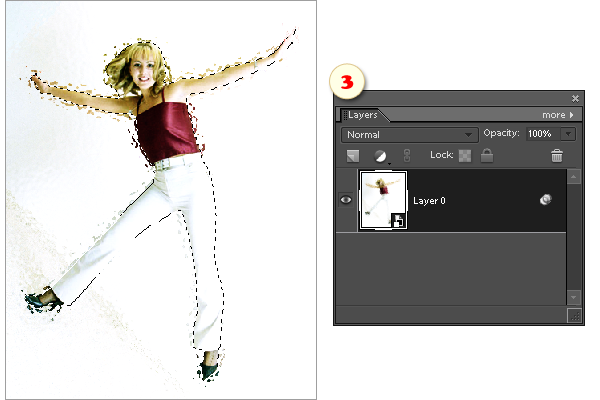
 - And vise versa, the "Unfilter Selected"
 commands only shows the filter effect on non-selected fragments of the smart object (fig. 3).

 To exit the mask editing mode (for example, you may want to adjust the settings of the filter itself), de-activate the filter mask by clicking the smart object's thumbnail in the Layers palette or apply the "Deselect Filter Mask"
  command. The white "dashes" disappear.