Using Curves to Adjust Color
 Since in Photoshop Elements the "Curves" dialog is missing the "Channel" menu, you can only adjust color of the current raster layer.
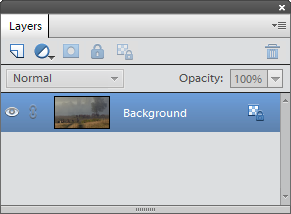
1. In case of multi-layered image, select the uppermost layer and "stamp" all visible layers by pressing [Alt+Ctrl+Shift+E] keys.
![]() 2. In the Channels list of the "Color and Tone" dialog, select the proper channel. For example, to reduce yellow color, click the "Blue" one.
2. In the Channels list of the "Color and Tone" dialog, select the proper channel. For example, to reduce yellow color, click the "Blue" one.
3. If the image turns black and white, check the "Show Hidden Channels" gadget under the Channels panel.
Now all the color channels are visible and we can see the composite image. Note though, that only the "Blue" one is selected at the moment, so all the tools and commands only affect this channel (more about).
Any tonal adjustments in this state alter the blue-to-yellow ratio. That is lightening the channel increases amount of the blue (primary) color, darkening the channel adds yellow (complementary) color.
4. In the Commands list, apply the  "Adjust Color Curves" command (screenshot).
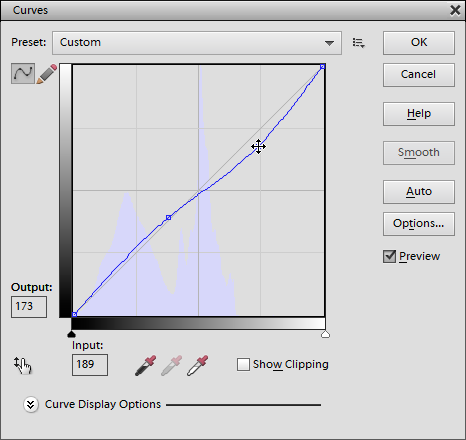
5. In the dialog box "Curves" that opens, bend the graph down to darken the Blue channel and decrease blue color. And vise versa, by pulling the graph upward, increase the amount of blue (which is equal to decreasing yellow).
![]() 6. After editing the color channels, open the "Color and Tone" dialog once again and click the "RGB" line in the Channels list. Now you can resume editing of the composite image.
6. After editing the color channels, open the "Color and Tone" dialog once again and click the "RGB" line in the Channels list. Now you can resume editing of the composite image.


